Connecting Gizmos
Before a device powered by a Gizmo can be used on a field, it must be bound to the FMS. This process is extremely similar to the process of binding a Gizmo to the Driver's Station in that it uses a USB cable to the System Processor and a 2 second press on the System Processor's BOOTSEL button to initiate binding. The primary difference is that when binding to the FMS you will be prompted to identify which team the Gizmo being bound belongs to.
Loading the Bind Screen
From the admin interface of the Gizmo FMS, select Operate > Bind Gizmos. This will open a page which does not have the menu bar. If opened in firefox, you will see the following screen:
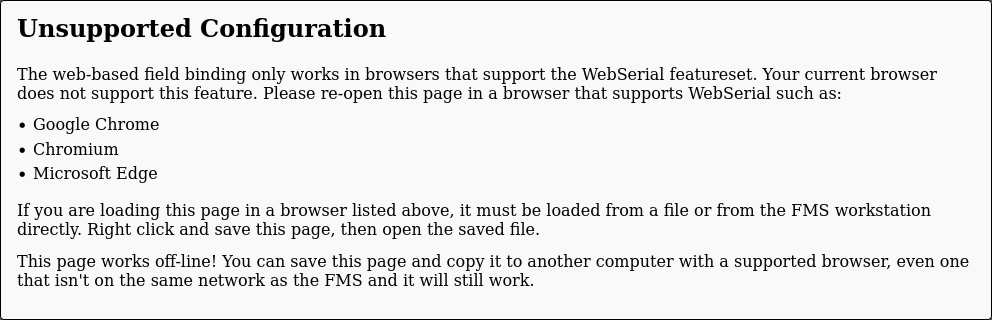
The web-based Gizmo Binding workflow makes use of features that are only available in Google Chrome and Chromium-based browsers, namely WebSerial. The web-based binding workflow is meant to run on a machine that will be accessible to teams, not necessarily the FMS Workstation. For this reason, you can right-click and save the page as a standalone HTML docuemnt which can then be copied using cloud storage, email, or other network methods to the target machine.
warning
Do not distribute this file to un-trusted entities, especially teams. It contains the encryption keys for your FMS and must not be distributed to untrusted parties.
Setting Up
There is a one-time setup task required to be able to use the web-bind page.
Once you have copied the file to a computer that will be used for binding and opened it in a Chromium-based browser, you'll have a screen that looks like this:
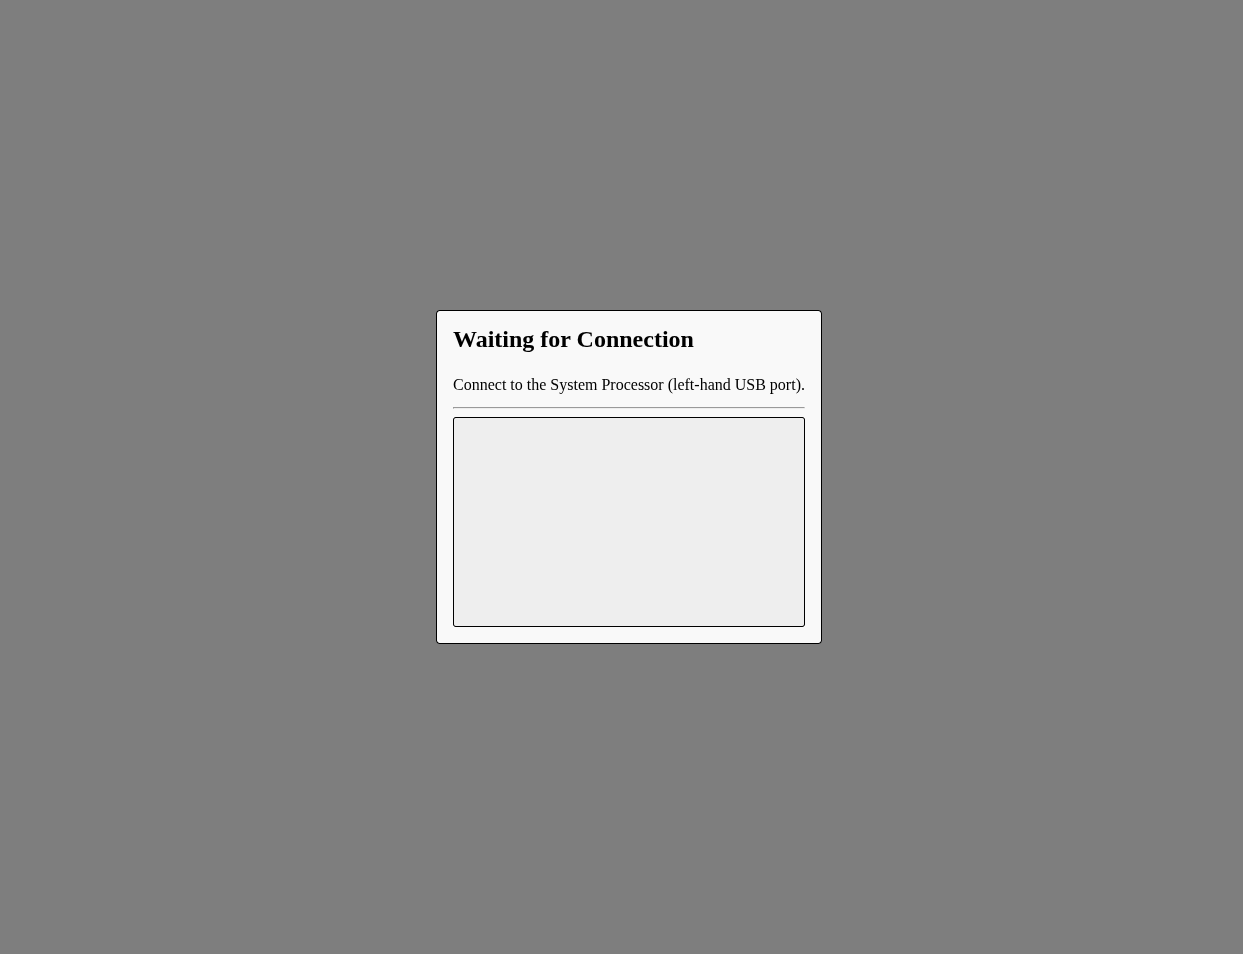
Scroll down and click on "Request Port" at the bottom center of the screen. A dialog will open asking you to select a device to grant access to. Plug in any Raspberry Pi Pico W (doesn't need to even be in a Gizmo) and select the Pico from the list:
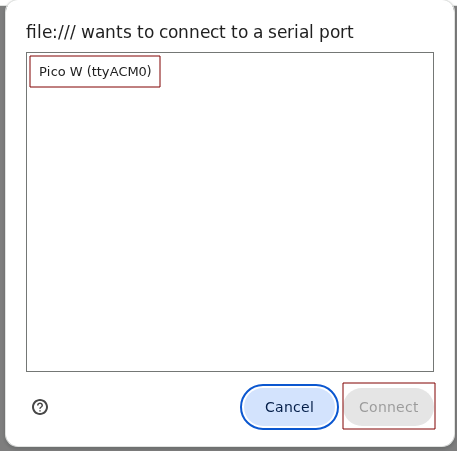
It is only necessary to perform this procedure once. After permission has been granted, future Gizmos can be plugged in and the page will handle fully automatic config binding without manual intervention.
Binding a Gizmo
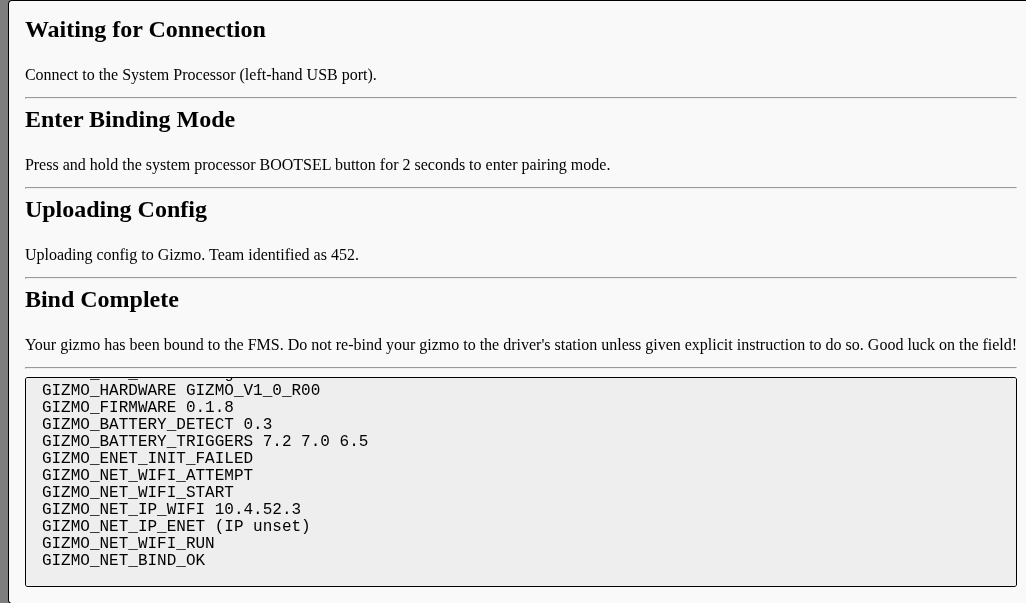
Once setup is complete, you can connect to the system processor with a USB cable and the page will recognize that you have connected a Gizmo for binding:
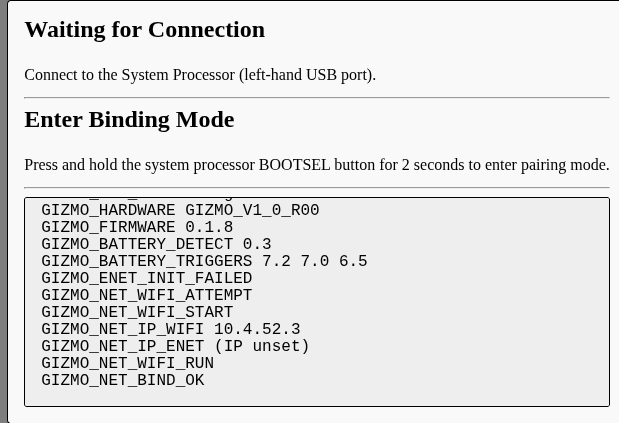
Binding will complete automatically after the BOOTSEL button is held for 2 seconds, and the page will reset itself after the USB cable is disconnected, or a timeout of 2 seconds. The successful binding looks like this: