Workstation Setup
The Field Management System (FMS) consists of hardware, software, and network components. The software runs on a dedicated workstation referred to as the FMS Workstation. The Gizmo team recommends a Raspberry Pi 400 computer to function as the FMS Workstation. Though an untested configuration, the Raspberry Pi 4 should also work if you prefer to supply your own keyboard and mouse instead of using the integrated keyboard and bundled mouse from the Raspberry Pi 400.
Since the quality of the micro SD card has a direct relationship to the performance of the FMS workstation, you are strongly encouraged to invest in a name-brand high performance micro SD card. The Gizmo Team regularly tests using Sandisk Extreme cards ranging from 32GB to 64GB. Regular handling of these cards can lead to damage, so having a space is a good idea, and take regular backups of any critical data.
Install the System Image
The FMS Workstation System Image is a complete, ready to use system software image for the Raspberry Pi. Obtain the latest system image from the GitHub releases page. For the FMS Workstation, use the fms.zip file. After unzipping the file, you'll have a file called fms.img.
To write the image to the SD card, you have a few choices. If you're on a mac or a Linux machine, you can use dd. On Windows you can use Win32DiskImager. If you've never written disk images before, the Gizmo team recommends you use Balena Etcher which is available for all platforms, and guides you through the process.
tip
Balena Etcher Portable edition can be used without needing to install. This can be convenient to not clutter your machine with extraneous programs, or to write files from a machine where you do not have administrative permissions to install new programs.
For a complete walkthrough of what Balena Etcher looks like, review the image writing process from the appendix (this page).
Initial Setup Tasks
The first time you boot up your FMS Worstation it will perform a number of initial setup tasks. This process may take some time while the filesystem is expanded to use all available space on your micro SD card, services are started, and initial configuration data is written out to the system.
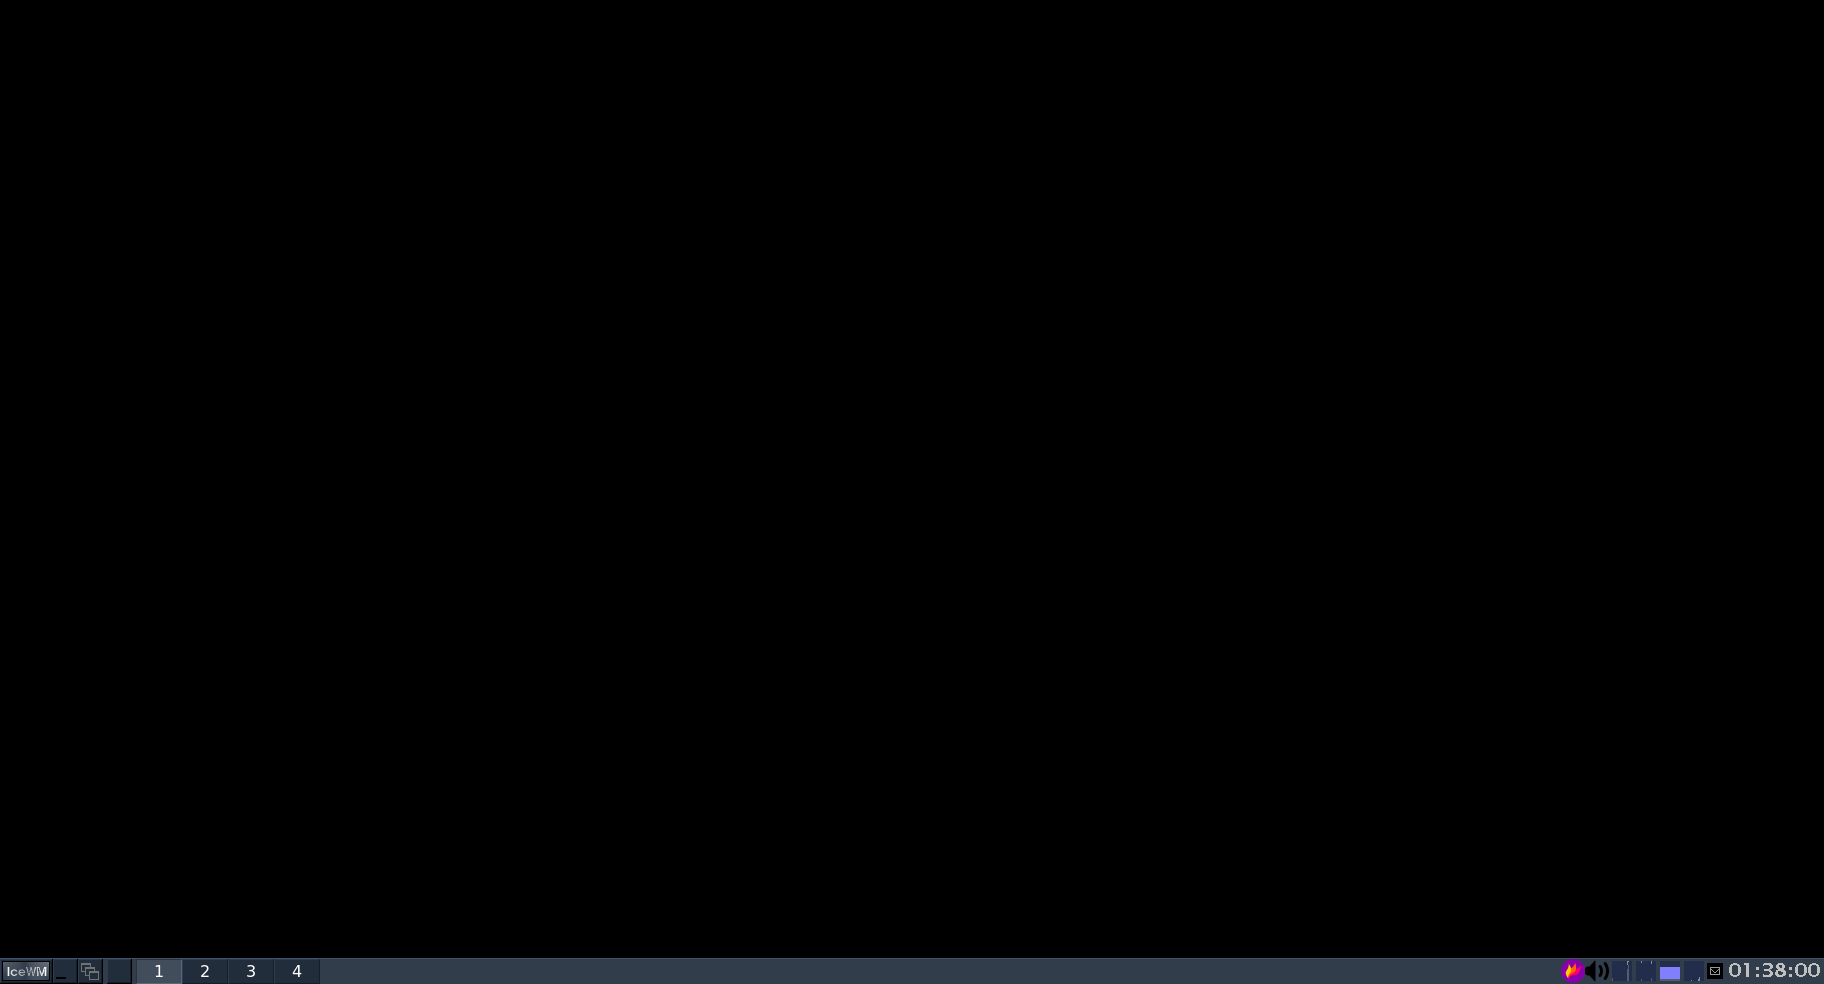
After the initial setup is complete, you will be greeted with a desktop that looks like this:

warning
The user you are logged in is called "admin". Do not create any additional users or change parameters for this user in any way unless explicitly advised to do so by the Gizmo team. A large amount of automated configuration data for the FMS expects this user to exist and you to be logged in as it, and these assertions are enforced.
Upon logging in you must connect the FMS workstation to wifi in order to download some utilities and files that are not distributable.
Connect to wifi by right clicking anywhere on the blank space of the desktop, or use the menu in the lower left hand corner, and select "iwgtk" from the network menu:
Settings > HardwareSettings > iwgtk
Select your wifi network and click connect, entering the password if your network requires one.
Right click anywhere on the blank space of the desktop, or use the menu in the lower left hand corner, and select the XFCE4 terminal from:
System > TerminalEmulator > Xfce Terminal
note
You are also strongly encouraged to change the FMS password with the following command:
$ passwd
This will prompt you for your current, new, and confirmation of new
passowrds. The default password is gizmo.
With the terminal open, execute the following commands:
$ sudo tzupdate
$ sudo gizmo fms setup fetch-tools
$ sudo gizmo fms setup fetch-packages
The first command will set the timezone based on your location, the second two retrieve 3rd party firmware that is required for the FMS, but that we are not permitted to bundle with the system images.
Updating the Gizmo Binary
note
You only need to update when a new version is released. If you just installed, you're already on the latest version.
From time to time the Gizmo application receives updates. To update the binary on the FMS workstation, download the gizmo_Linux_arm64.tar.gz file from the most recent GitHub Releases page. Expand the archive and copy the Gizmo application into place, then reboot:
$ cd Downloads/
$ tar -zvxf gizmo*.tar.gz
$ sudo mv ./gizmo /usr/local/bin/gizmo
$ sudo reboot
The operating system can be updated in a similar way:
$ sudo xbps-install -Su
$ sudo reboot
The update command will tell you how much space is required and how much data will need to be downloaded from the internet.